In this lesson we will learn to animate a car/automobile moving across the screen as well as making it's wheels spin to help simulate movement.
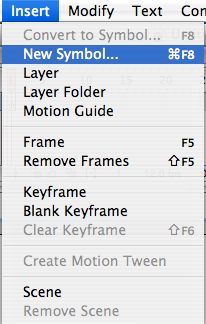
Step 1. After opening up a new Flash movie, from the Insert menu, select "New Symbol".
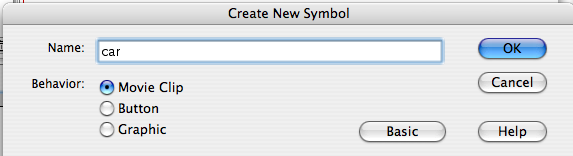
Step 2. Name your new symbol "car" and make sure "Movie Clip" is selected as a behavior.
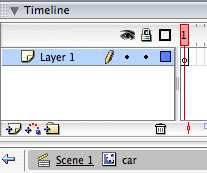
Step 3. The image below shows that you are in Scene 1, inside of the car movie clip. This information is displayed right below the Timeline.
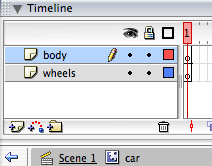
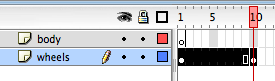
Step 4. While you are still in the car movie clip, create the following layers; "body" and "wheels".
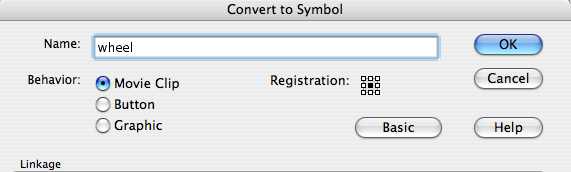
Step 5. Now, while you select the first frame in your "wheels" layer, using the Oval Tool from the tool pallet, draw a wheel. While your wheel is selected (you can select the wheel with the black arrow from the tool pallet/selection tool), right-click and choose the "Convert to Symbol" option from the menu.

Step 6. Name this symbol "wheel" and make certain that Movie Clip is selected as a behavior.
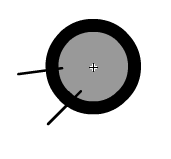
Step 7. You are now inside of the wheel Movie Clip. What I did here is that I made two lines with the Line Tool that create a break in the shape of the wheel. Now I can change the color in just this segment of the tire/wheel. This will help achieve the effect that the tire is rolling in our animation. We will work on that in future steps.
![]()
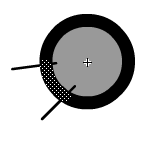
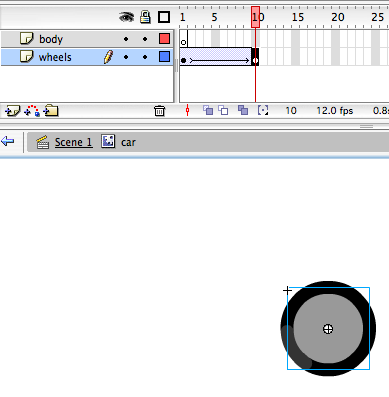
Step 8. Here I select the short section of tire/wheel.
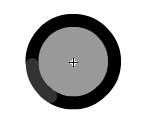
Step 9. Here you can see it with the color modified. I used a dark gray, but you can use any color you like
Step 10. Now navigate back to your car Movie Clip. In the area below the Timeline, just click on "car" notice how it has the MovieClip icon to the left of it.
![]()
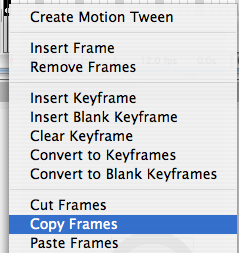
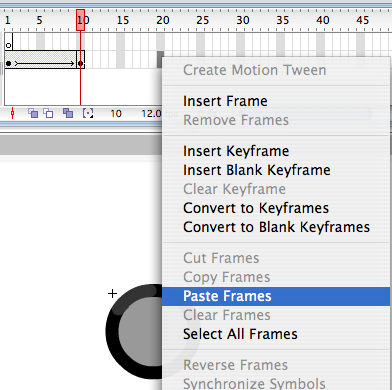
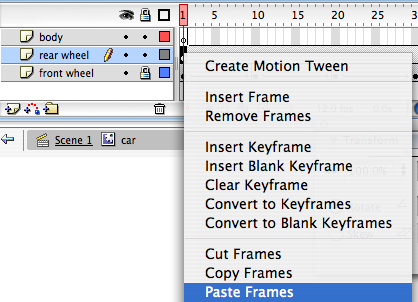
Step 11. Now, with the first frame of the car Movie Clip selected in the Timeline, right-click and select "Copy Frames".
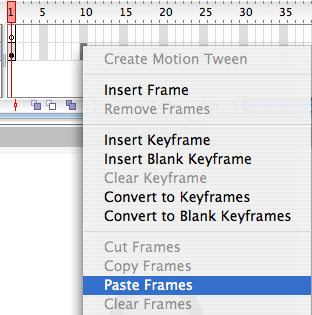
Step 12. Now click on frame 10 in the same layer and right-click, selecting "Paste Frames.
Step 13. Select all the frames on the wheels layer. you can do that by clicking on the first frame, then while holding down the shift key, click on the last frame.
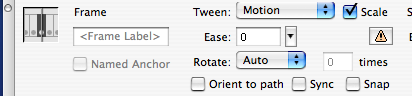
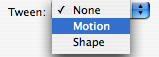
Step 14. From the Properties Panel, from the Tween menu, select "Motion".
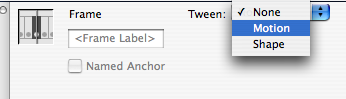
Step 15. The Properties Panel now displays some new information.
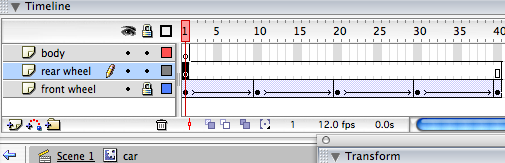
Step 16. Notice the arrow running through the frames in the Timeline. This shows us that there is a Motion Tween applied to these frames.
Step 17. Click on frame 10 of the wheels layer, make sure the wheel symbol is selected on the stage.
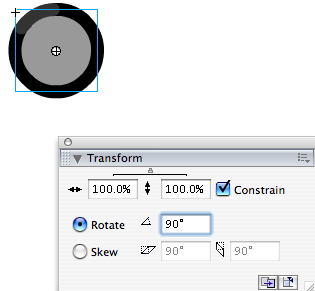
Step 18. From the Window menu, select "Transform".
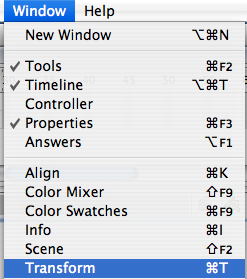
Step 19. The Transform Pallet appears, select "Rotate" and set it to 90 degrees.
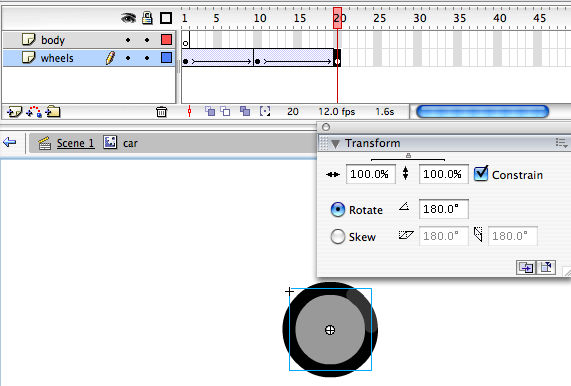
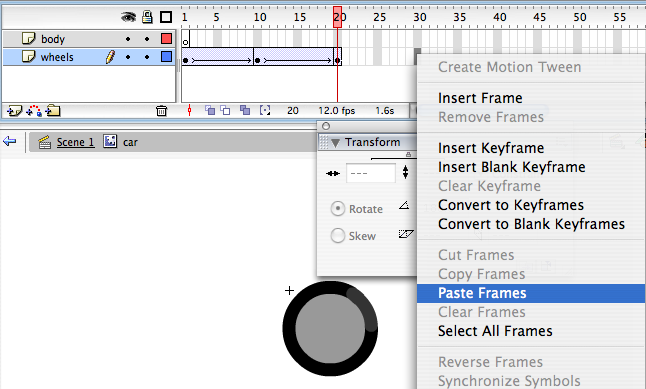
Step 20. Now from the Timeline, select frame 20 on the same layer. Right-click and paste your frame here.
Step 21. Make sure you keep the motion tween applied to these frame in the Timeline (Steps 13-16).
Here you select the wheel symbol on the stage and rotate it to 180 degrees.
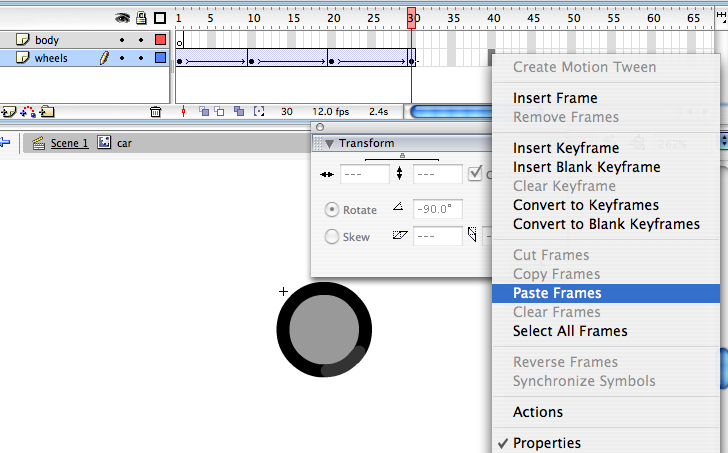
Step 22. Select frame 30 and paste your frame there.
Step 23. Keep that Motion Tween going as in Steps 13-16.
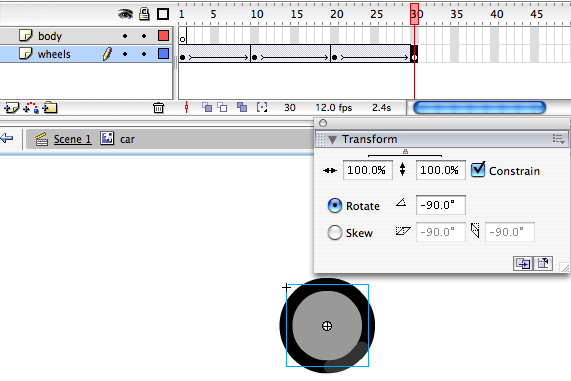
Step 24. Here you rotate your wheel symbol by -90 degrees.
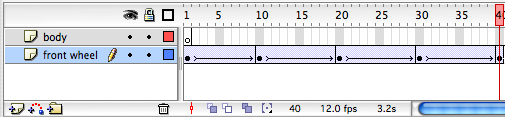
Step 25. In frame 40, paste your frame again.
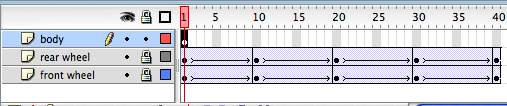
Step 26. Change the layer name to "front wheel".
Step 27. Create another layer and name it "rear wheel". See how I locked the front wheel layer so we don't mistakenly do anything to it.
Step 28. Copy all the frames from your front wheel layer, you may need to unlock that layer to do so. Then, click on the first frame in the Timeline on your rear wheel layer and paste your frames.
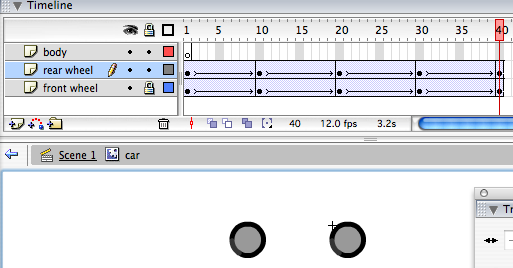
Step 29. On each keyframe of the rear wheel layer, select the wheel symbol on the stage and move it to the left, I do this by using the keyboard. Hold down shift while nudging it left with the left arrow key. make sure that in each frame you move it left the same amount of times.
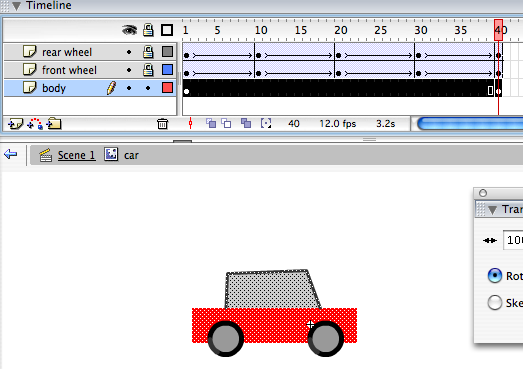
Step 30. Lock the rear wheel layer so you don't mess with it. Click on frame 1 of the body layer on the Timeline. Now on the stage draw the body of the car using tools from the Tool Pallet that we learned about in Lesson 1.
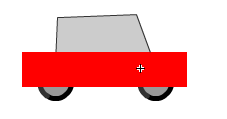
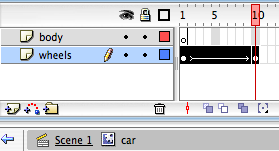
Step 31. After you have drawn the body of the car, in the Timeline, select the first frame and copy it, paste it on the same layer at frame 40. Below the image shows the first frame selected and ready to copy.
Step 32. Drag this layer below the wheel layers. You do this by putting your mouse over the layer name and dragging it down over the other layers.
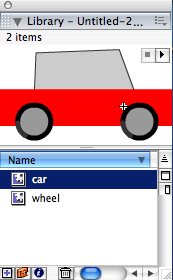
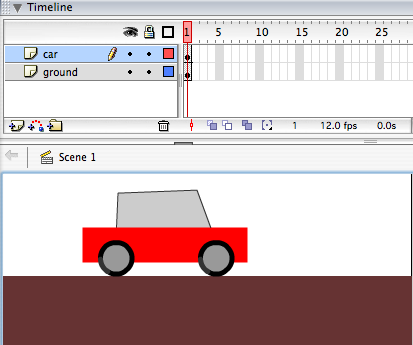
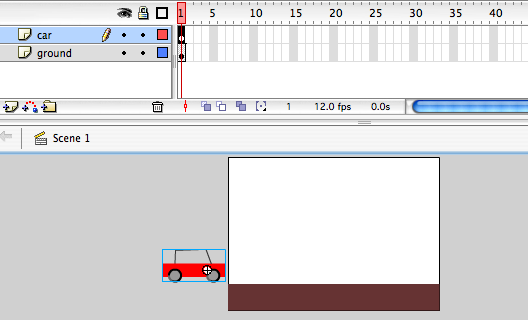
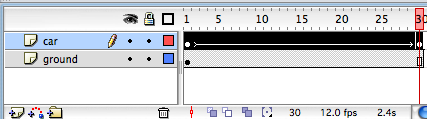
Step 33. Now navigate back to the root level, in this case Scene 1, You can do that by clicking on the Scene 1 label below the Timeline. Create two layers here, call one "car" and one "ground". Now open up your Library panel, this is done from the Window menu. Below you can see the car Movie Clip selected in the library. Now drag this item from the library onto the stage. Be sure that you are in the car layer, not the ground layer.
Step 34. In the ground layer, draw some ground. Here I used a brown rectangle. Not very fancy, but it works.
Step 35. Move the car off to the left of the stage. Now, copy frame one of the car layer and paste it at frame 30 on the same layer.
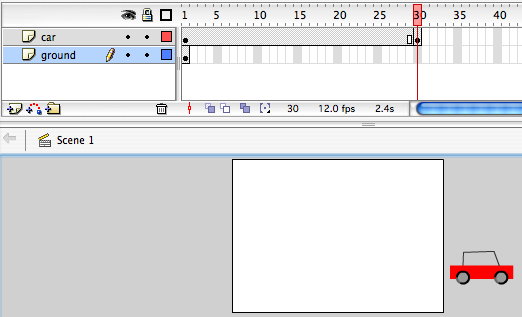
Step 36. On frame 30 move the car off to the right of the stage.
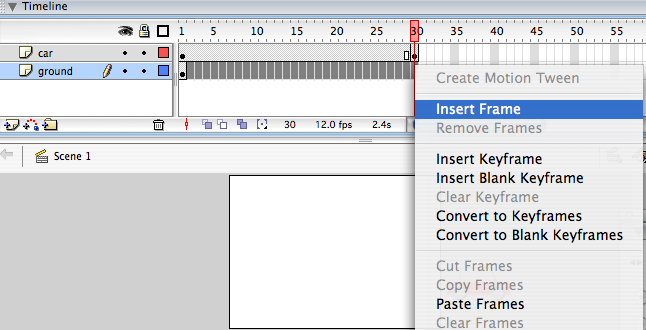
Step 37. Add some frames to the groundlayer, do this by selecting the empty cells/frames from frame 2-30 on the ground layer. Right-click and select "Insert Frame".
Step 38. On the car layer, select all of the frames.
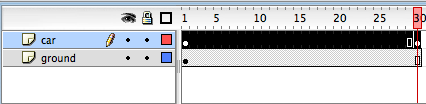
Step 39. Right-click and select "Motion-Tween".

Step 40. We see the Motion Tween has been applied to the frames on the car layer.
Step 41. Here I added som frames to both layers to smooth the animation a bit.

The finished product:
You can download the source file here.